|
 This is a short explanation for above mentioned workpiece.
If you want to create a workpiece too please
follow the step-by-step instructions under courses
(navigation bar to the left). This is a short explanation for above mentioned workpiece.
If you want to create a workpiece too please
follow the step-by-step instructions under courses
(navigation bar to the left).
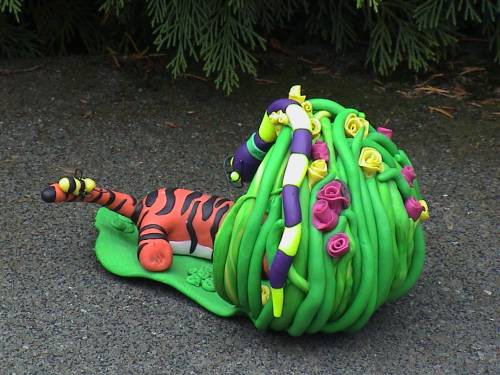
This creation has been made out of Fimo and Creall-therm.
Both kinds of clay can be intermixed.
First I have made several rolls of different coulours of
green clay (take a look at Basics, navigation
bar to the left).
The
polystyrene foam ball was directly covered with it. The ball will then shrink in the oven when heated.
If you cover the form first with tin foil you keep the
form intact. This is not the way as you want to be able
to extract the ball after baking your workpiece.
The
partly covered form is put on a thick layer of green
clay as seen on the picture. Be sure to have the right
thickness, it has to support ball and animals lateron.
Put some roses in the crevases. This creation will now be put into the oven for about
30 minutes.
Meanwhile I have modelled the animals (tiger, bees and
snake).
After the cooling process the animals are put on and
into the
workpiece (see picture on "English" page). The whole creation has to be baked again
for 30 minutes (110 degrees C).
|